
The app
To operate a RhoC5, you need an Android device with the RhoC App installed. You can order the RhoC5 by adding an Android phone to the box contents, or you can use your own device. The app connects to the RhoC5 hardware and is used for measurements in the field. The phone connects to the hardware over Wi-Fi.
Connecting
To be able to connect to the RhoC5, the phone must be connected to the access point of the RhoC 5, which is typically named RhoC5.<serial>, where <serial> is the serial number, for example, RhoC5.0007. To connect to an access point:
Open Wi-Fi Settings: Go to the Settings menu on your Android device. This can usually be accessed by tapping the gear icon in your app drawer, or by swiping down from the top of the screen and tapping the gear icon in the quick settings panel.
Turn on Wi-Fi: Ensure that Wi-Fi is turned on by tapping the Wi-Fi option in the Settings menu. This will scan for available networks.
Select Network: Once Wi-Fi is turned on, your device will display a list of available Wi-Fi networks. Look for the access point of the RhoC5 in the list and tap on it.
Enter Password: The network is secured with a password: @Radiometrics123. Type in the password and tap "Connect".
Connect: After entering the correct password, your device will attempt to connect to the selected access point. Once connected, you'll see a confirmation message, and the Wi-Fi icon in the status bar should change to indicate the connection. The phone may show a warning that the network has no access to the internet. This warning can be ignored.
Start-up screen
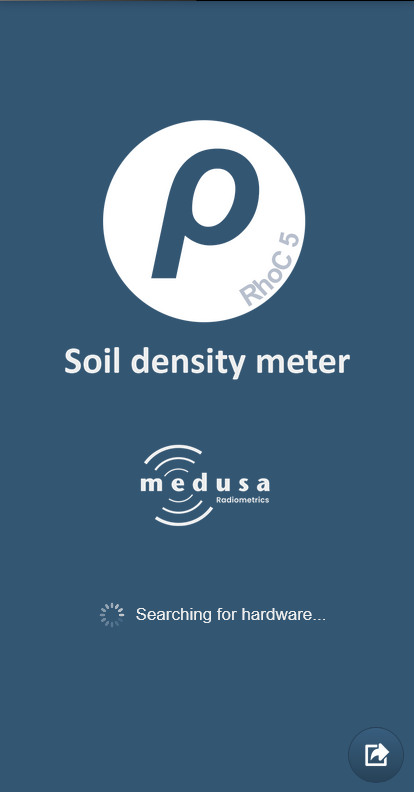
When you open the app, you will see the screen, as shown above, which searches for the hardware. When the RhoC5 hardware is found, this will be displayed, and the app will automatically go to the Project screen.
If no hardware can be found, or if the app notifies that it cannot connect, check the following:
Make sure the RhoC5 is switched on and the PWR light is green;
Make sure the phone is connected to the access point of the RhoC5;
In some cases, mobile internet should be switched off.
Exporting data is possible even when the app is not connected to the hardware. This can be done by clicking the Export button in the lower right corner of the start-up screen.
Project screen
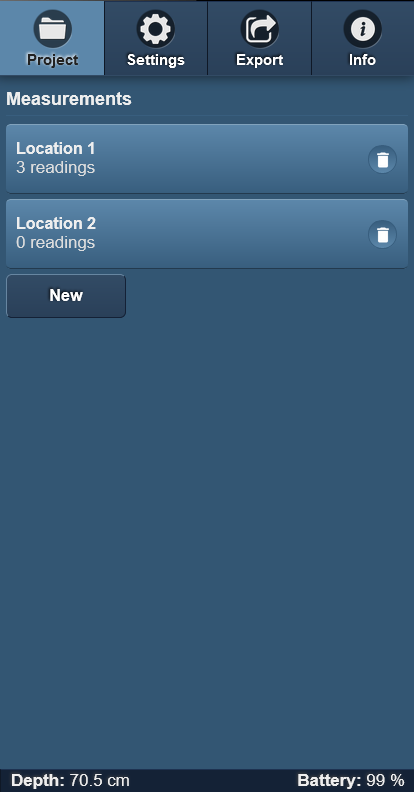
The project screen is shown in the picture above. This can be seen by the highlighted color of the "Project" button in the navigation bar.
Click one of the measurements on this screen to open the Measurement screen for this measurement.
A new measurement will be created when clicking the "New" button. You should make one measurement for each location/borehole. Give the measurement an appropriate name to make it easy to identify which measurement corresponds to which location/borehole. After you give the measurement a name, the app will automatically go to the Measurement screen.
Each measurement shows an erase button near the right. Clicking this button will allow you to delete the measurement with all its readings.
Near the bottom of the screen, the sensor's current depth and battery status are shown. These values are visible on each screen in the app.
Measurement screen
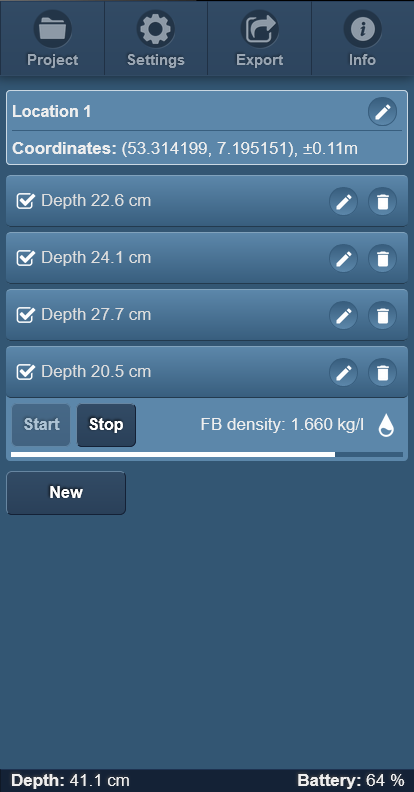
The screenshot above shows a measurement titled "Location 1", with a list of readings. When you press the "New" button on this page, a new reading is added to the measurement, where the name will automatically be set to the current depth.
You should make a new reading for each depth for which you want to know the density. A reading can be selected by clicking on the reading, after which it will unfold. To start logging data in the selected reading, press the "Start" button.
The field bulk density for the reading will be shown continuously during the measurement. An icon with a drop is visible when the soil moisture content has been determined. A progress bar gives an estimate of how long it will take to reach the requested density accuracy. When this accuracy has been reached, a notification sound can be heard.
The measurement will continue until the "Stop" button has been pressed. Note that, depending on the settings, a measurement may continue even after the requested accuracy is reached, it will only stop when the “Stop” button is pressed. It is always possible to stop the measurement before reaching the desired accuracy. The longer a measurement runs, the more accurate the density measurement will become.
On each reading, there are two buttons located on the right side. With the left button (showing a pencil), you can change the name of the reading. The button showing a waste bin allows deleting the reading.
Settings screen
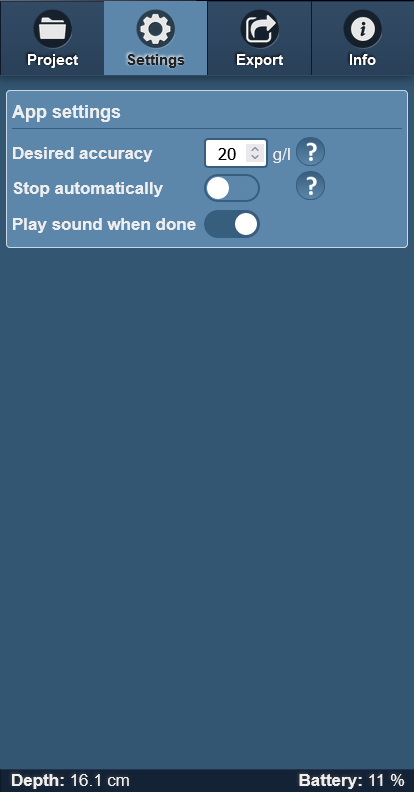
On the settings screen, you can change the behavior of the app.
The desired accuracy helps you to determine when a measurement is completed. A more accurate will cause the measurement to take longer to complete. As a rule of thumb: if you reduce the desired accuracy by a factor 2, it will take 4 times as long to complete the measurement. Note that you can always stop a measurement before reaching the desired accuracy. The radioactive source in the RhoC5 will decay, and as a result, it will take longer to reach the same accuracy over time.
When Stop automatically is on, the measurement will automatically stop when the desired accuracy is reached.
Play sound when done will sound a notification once the desired accuracy has been reached.
Export screen
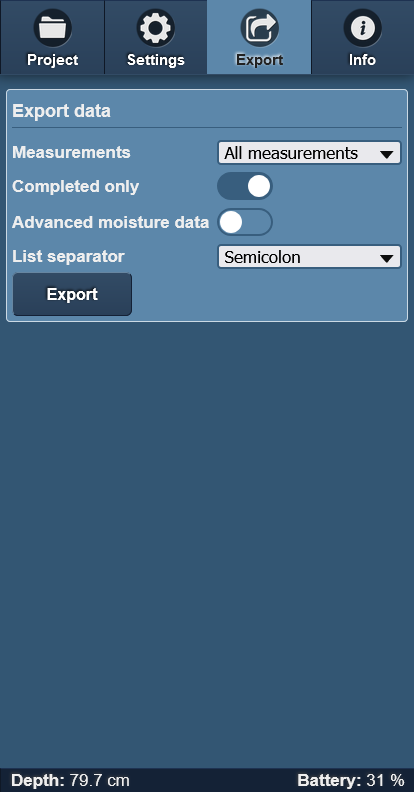
This export page can export data from the phone to the cloud or another device, such as a PC or phone. The app will export data in CSV format.
The measurements dropdown list allows you to select a single measurement. It is also possible to select all measurements.
When completed only is checked, readings and measurements that have not been completed are excluded from the export.
When Advanced moisture data is checked, the raw moisture data is exported as well. This raw moisture content has not been corrected for the depth offset between the moisture and the density measurements. If a user function for the soil moisture data has been specified, this will be included in a separate column. See Exported data.
A list separator can be selected to manipulate the content of the created CSV file.
Note that exporting does not erase any data from the phone.
The app will export data using the social sharing options on the phone. This may include e-mail, WhatsApp, or simply storing the file.
Info screen
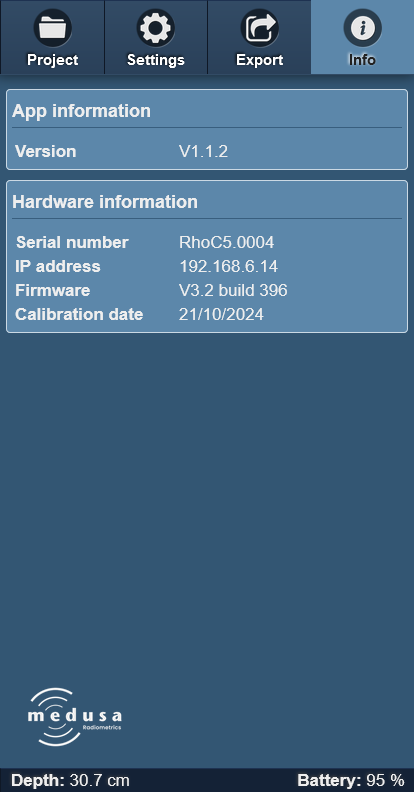
This page shows some information about the app and the hardware, such as the version number, the serial number, and the calibration date.