MSB-302 assembly instructions
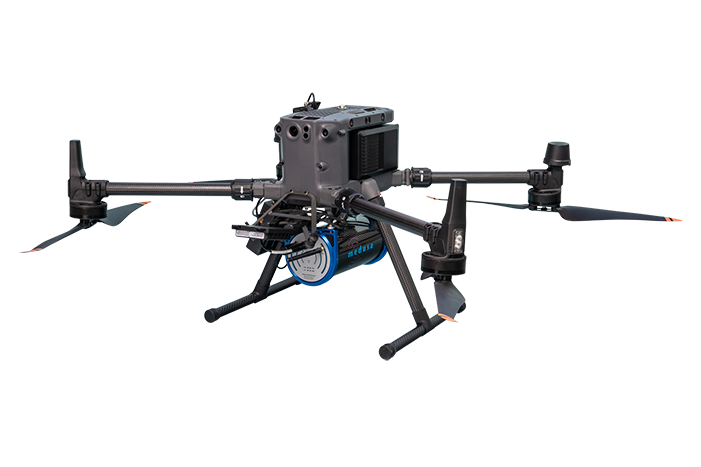
The MSB-302 mounting brackets are specifically designed to be mounted under the DJI M300 or DJI M350.
The attached pictures show examples of how the MS-350 MSB-302 drone mounts are assembled. This drone mount utilizes the Universal heavy lift payload mounting for DJI M300/M350 RTK drone manufactured by SPH engineering.
Assembly instructions
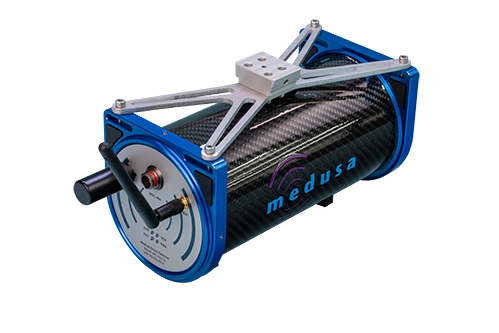
This mounting bracket consists of two unique parts: an aluminum mount attached to the gamma-ray detector and a quick release attached to the drone. Assembly instructions are as follows:
Mounting the plate on the detector
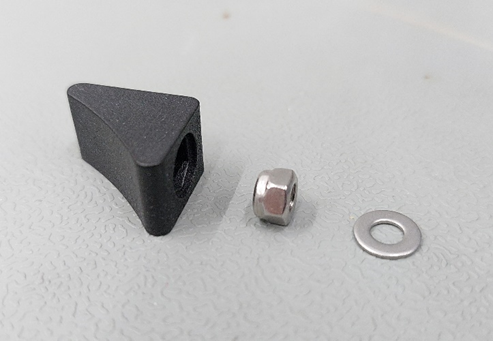
Corner pieces.
Put one nut inside a corner piece.
The orientation of the nut should be downwards as can be seen in the picture.
Also add the washer.
Do this for all four corner pieces.
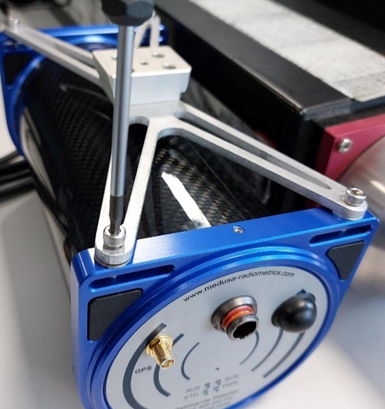
Slide the corner pieces into the corners of both detector caps.
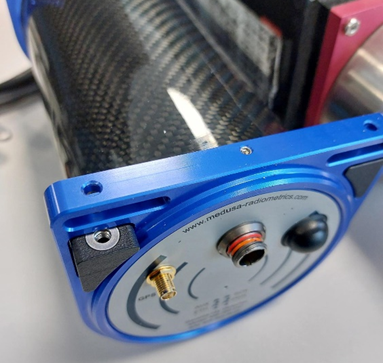
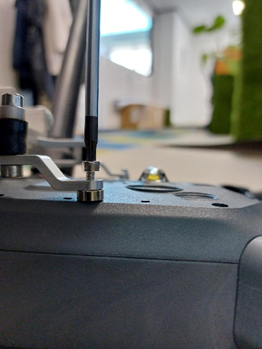
Attach the mounting plate by screwing the four bolts into the nuts of the corner pieces.
Attaching the quick release to the drone
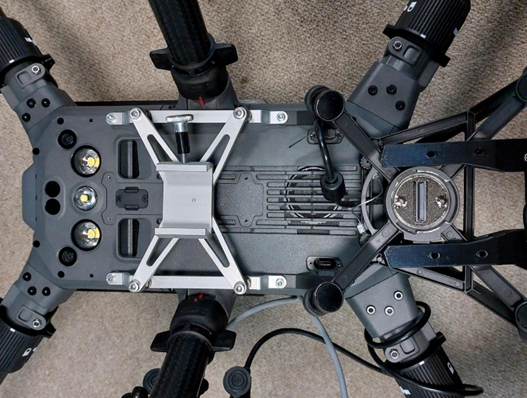
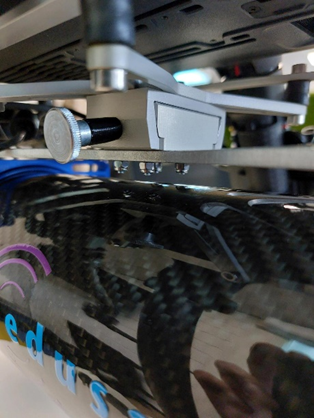
Attach the four corners of the quick release to the holes on the bottom of the drone using the M3 bolts. The orientation of the quick release does not matter.
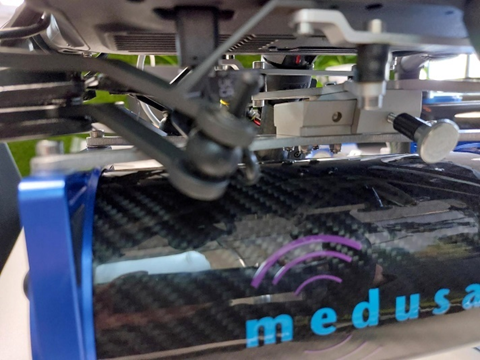
If the frame of the drone needs to be attached at the same time, place the front corners of the quick release on top of this frame, as seen in the picture on the left.
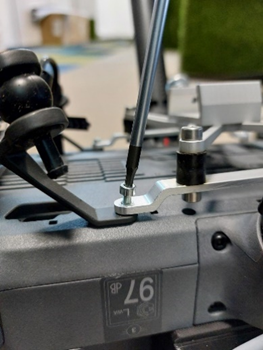
The back corners of the quick release then need a stand-off between them and the drone, as seen in the picture on the right.
If the frame is not present, the stand-offs should not be used.
Attaching the sensor to the drone
The quick release allows the sensor to be easily (un-) attached to the drone.
Slide the aluminum mount in the holder on the quick release.
Make sure they align with each other.
Tighten the two pieces together with the screw and make sure that the detector cannot slide off.