

Appearance
Settings — WiFi
The WiFi settings section manages the detector's wireless network connections. Navigate to Settings → WiFi to open it.
It is divided into two or three tabs depending on configuration: Detector WiFi, WiFi Settings, and — when external WiFi is enabled — External WiFi.
Detector WiFi
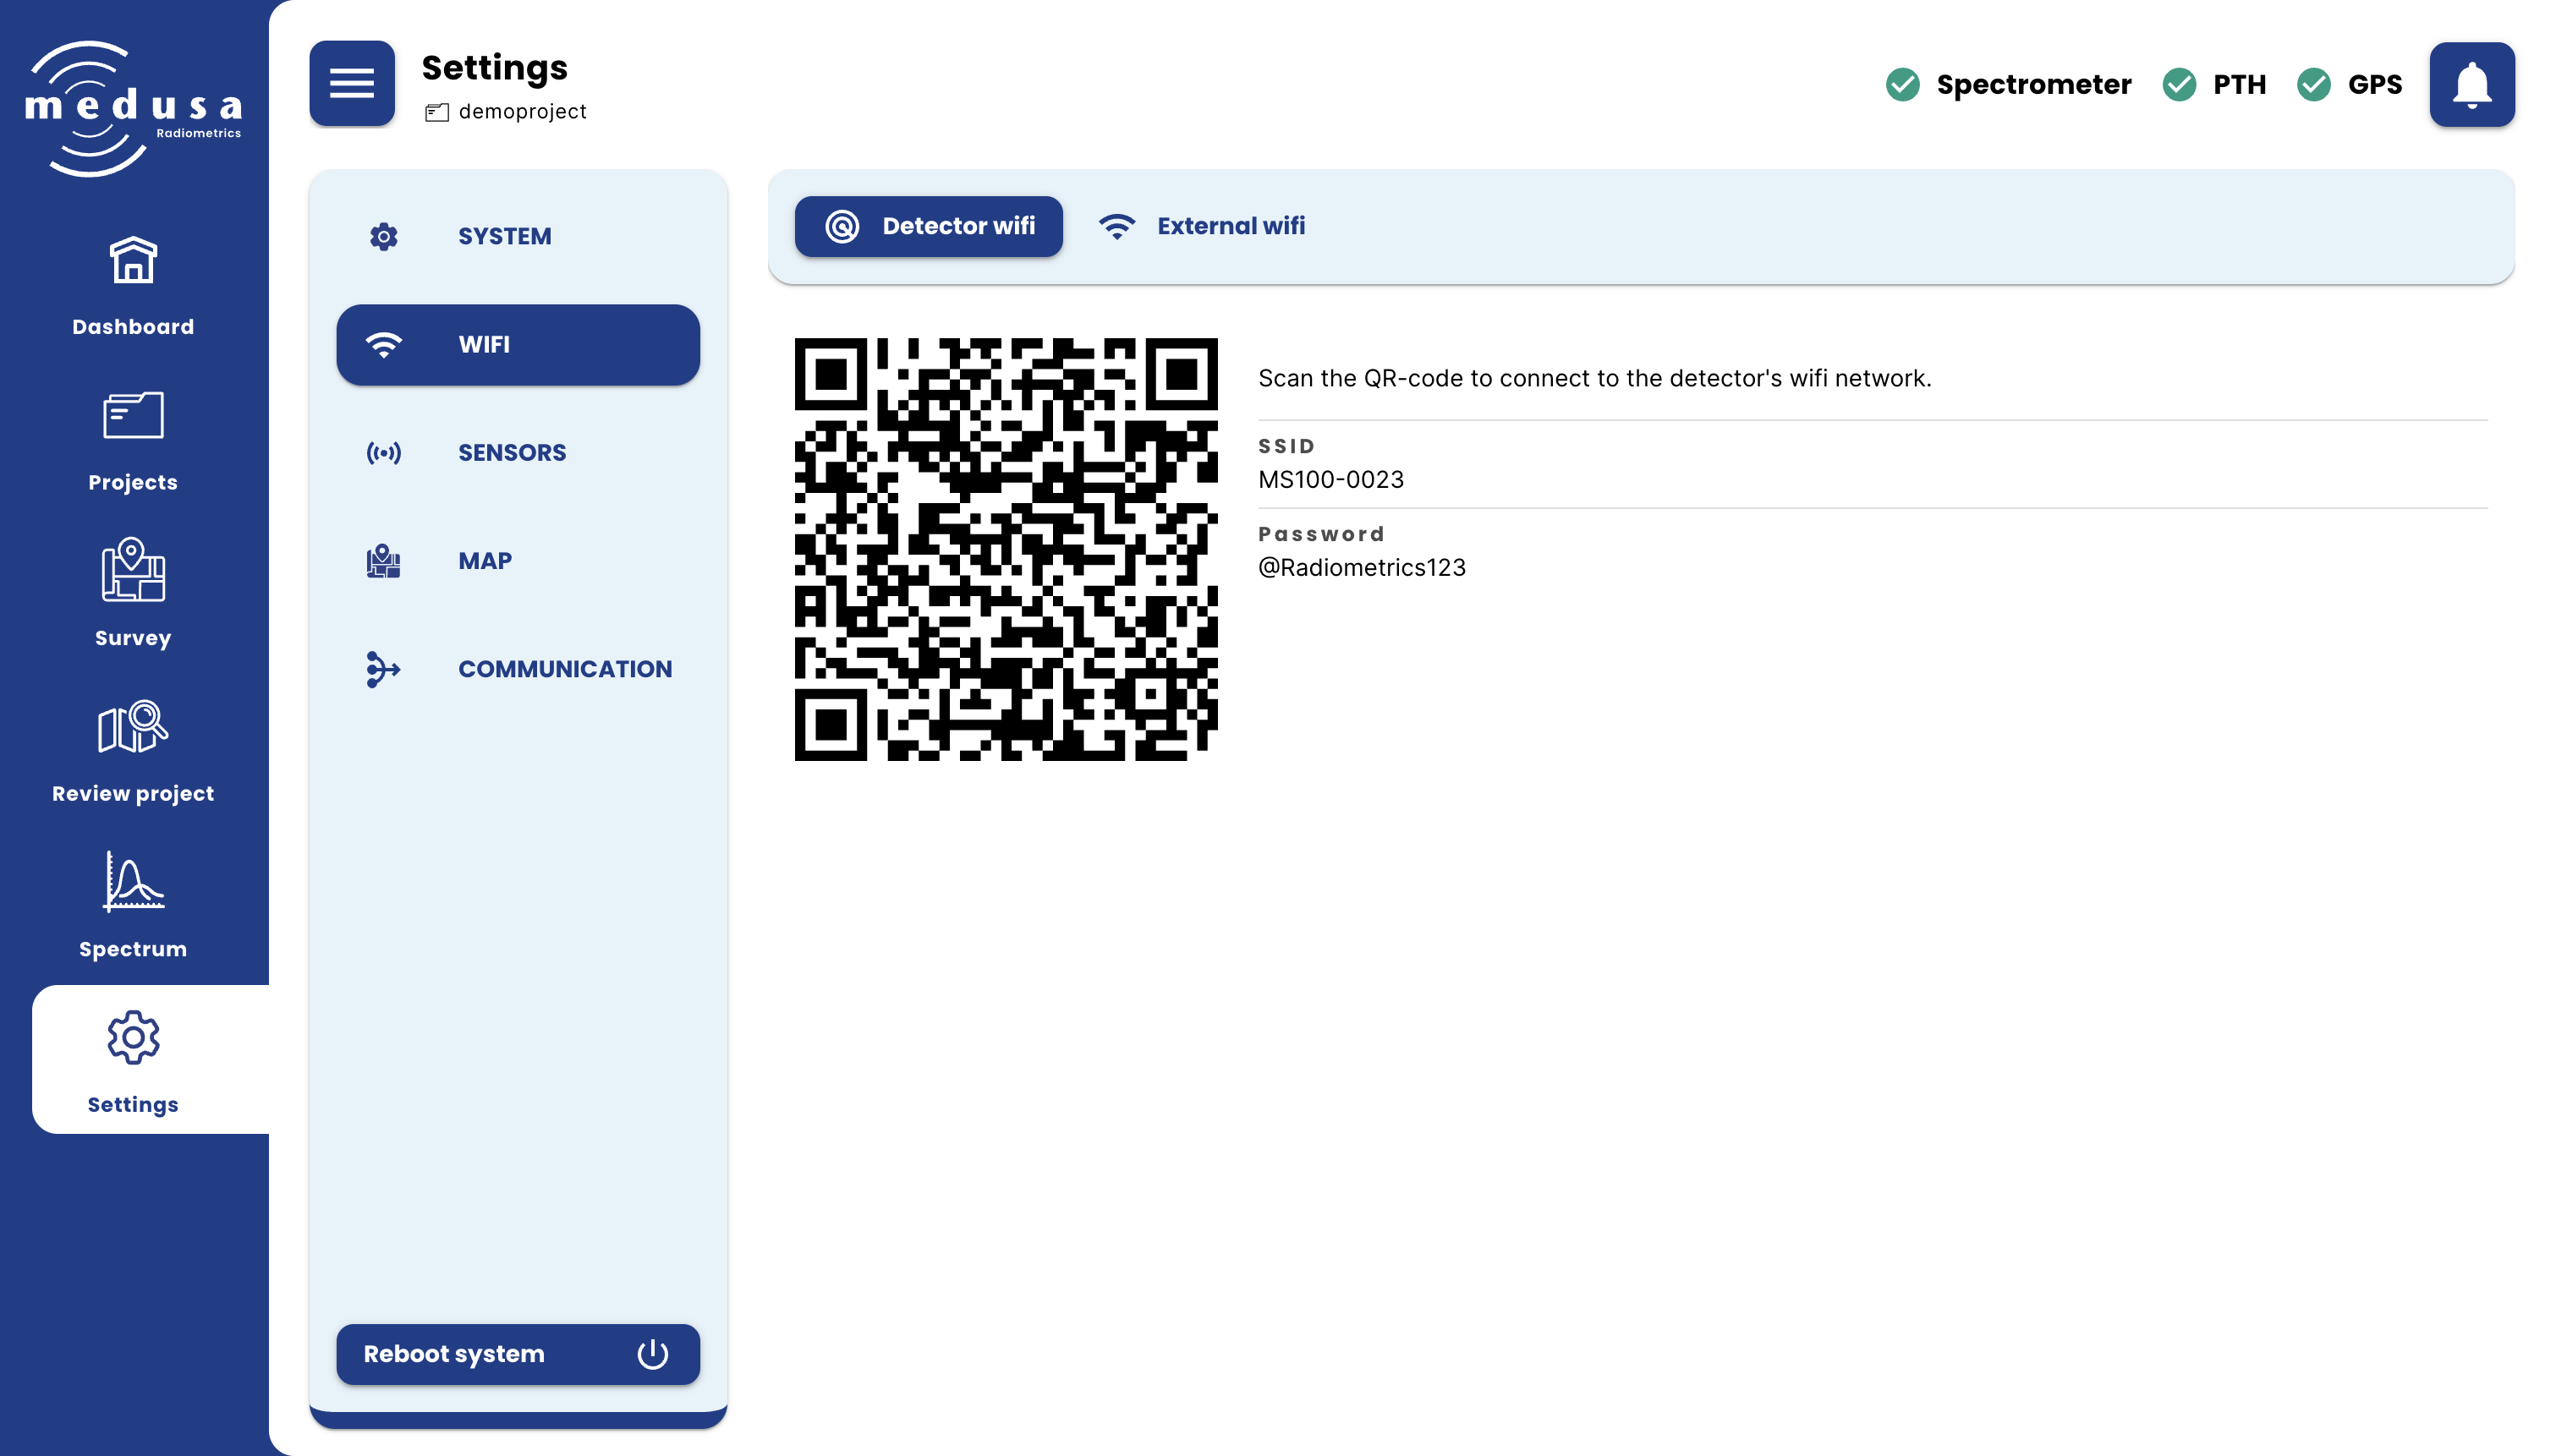
The Detector WiFi tab shows the credentials for the detector's own WiFi access point. If you need to disable the access point, contact Medusa support.
| Field | Description |
|---|---|
| SSID | The network name of the detector's WiFi access point |
| Password | The password for the detector's WiFi access point |
Scanning the QR code with a phone or tablet automatically connects to the detector's network. The SSID and password are set by Medusa and cannot be changed.
External WiFi
The External WiFi tab allows the detector to connect to an existing WiFi network, such as a router or a mobile hotspot. This makes the detector accessible via that network, so you can reach the mDOS interface without connecting directly to the detector's own access point.
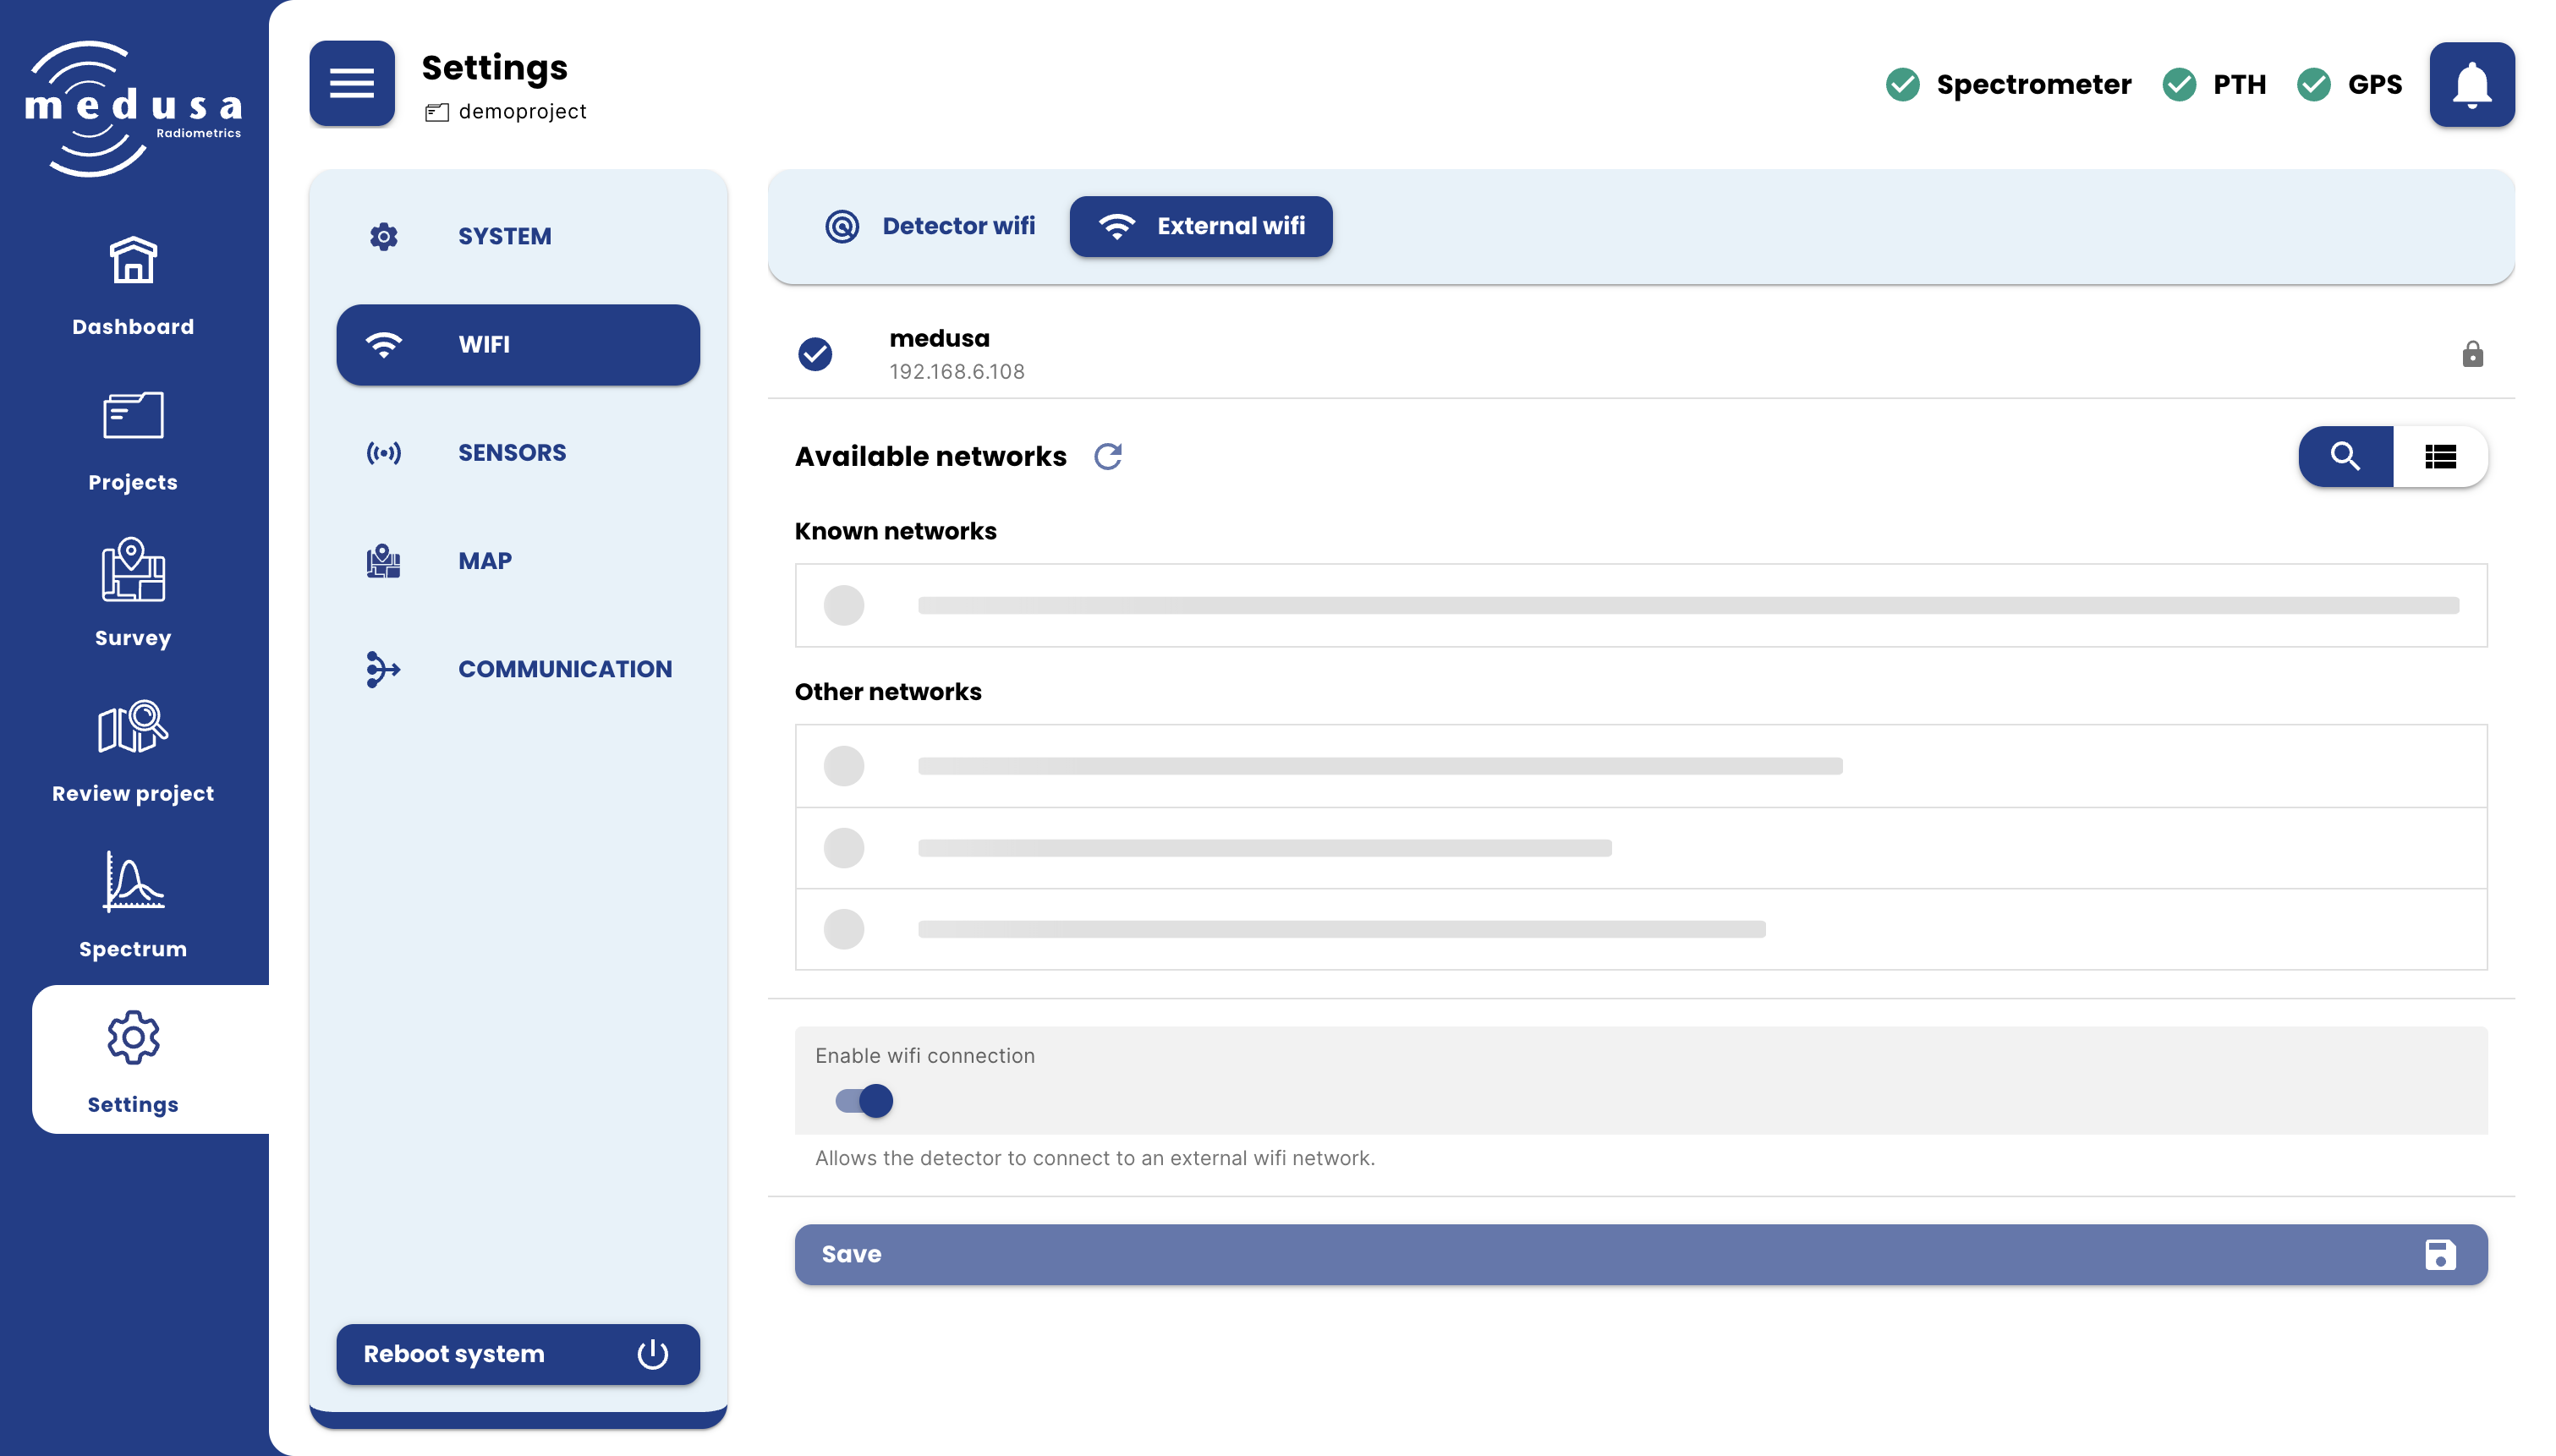
The network list can be viewed in two ways using the toggle in the top right:
- Scan view — shows all networks currently in range, divided into Known networks (previously configured) and Other networks (all other visible networks)
- List view — shows all configured networks saved on the detector, regardless of whether they are currently in range. Each network can be removed with the delete button.
Clicking a network opens a dialog to connect to it. If the network is password-protected, a password field is shown. Open networks can be connected to directly.
The current connection status is shown at the top of the tab.
Info
Tip: connecting to an external network
It is recommended to configure external WiFi connections while connected to the detector's own access point.
If your device is connected to an external network that the detector is also on, and you use that connection to switch the detector to a different network, you will immediately lose access — because your device remains on the old network while the detector moves to the new one.
By starting from the detector's own access point instead, you stay connected throughout the configuration. Once the detector has successfully joined the external network, its IP address on that new network is shown in the interface. You can then switch your device to that same network and navigate to that address to reconnect.
Note
Note: temporary connection loss during network switch
When the detector connects to an external WiFi network, it may briefly lose its own access point connection. This is expected behaviour, as the detector cannot maintain both connections simultaneously. The access point will become available again shortly after.